


Price: $7.59
(as of Apr 08, 2025 12:01:21 UTC - Details)
The Best Way to Apply Press-On Nails: A Comprehensive Guide
Introduction
Are you tired of dealing with messy nail polish, long salon visits, and the perpetual quest for the perfect manicure? If so, you’re not alone! Press-on nails have become a game-changer for many, offering a quick, affordable, and stylish solution for flawless nails at home. In this article, we'll explore the best way to apply press-on nails, diving into practical tips and tricks that will help you achieve salon-quality results without ever leaving your house. Whether you're a first-timer or a seasoned pro, this guide will provide you with everything you need to know about applying press-on nails effectively.
Understanding Press-On Nails
What Are Press-On Nails?
Press-on nails are pre-designed artificial nails that can be easily applied at home. They come in various shapes, sizes, and designs, making them a versatile option for anyone looking to enhance their nail game. Unlike traditional acrylic or gel nails, press-ons can be applied and removed quickly, making them perfect for temporary wear.
Why Choose Press-On Nails?
There are several reasons why press-on nails are gaining popularity:
- Convenience: No need for salon appointments.
- Affordability: A fraction of the cost of professional manicures.
- Variety: Endless designs to suit any style.
- Ease of Use: Quick application process.
Preparing Your Natural Nails
Step 1: Gather Your Supplies
Before diving into the application process, it's essential to have all your supplies ready. You will need:
- Press-on nails
- Nail file
- Cuticle pusher
- Rubbing alcohol or nail polish remover
- Nail glue or adhesive tabs
- A small buffer (optional)
Step 2: Clean and Prep Your Nails
To ensure the best adhesion, start with clean nails. Use rubbing alcohol or nail polish remover to wipe away any oils or residue. This step is crucial as it helps the press-on nails stick better.
Step 3: Shape Your Natural Nails
Using a nail file, shape your natural nails to match the press-ons. This can help create a seamless look and ensure the press-ons sit comfortably. If your nails are longer than the press-ons, consider trimming them down.
Choosing the Right Size and Design
Step 4: Select Your Press-On Nails
Finding the right size is key to a natural look. Most press-on nail sets come with various sizes. Test each nail against your natural nail to find the best fit. If a nail is too big, gently file the sides until it fits comfortably.
Step 5: Match Your Style
Press-on nails come in a plethora of designs—from solid colors to intricate patterns. Choose a style that suits your outfit or occasion. Whether it's a night out or a casual day, there's a press-on design for every scenario.
Application Process
Step 6: Apply the Adhesive
Depending on the type of press-on nails you have, you can either use nail glue or adhesive tabs. If using glue, apply a small dot on your natural nail and the press-on. For adhesive tabs, peel off the backing and stick it to the natural nail.
Step 7: Position the Press-On Nail
Carefully align the press-on nail with your natural nail. Start at the cuticle and press down firmly, ensuring no air bubbles are trapped underneath. Hold it in place for a few seconds to let the adhesive bond.
Step 8: Repeat for All Nails
Continue the process for all your nails. Take your time to ensure each nail is applied correctly. A rushed application can lead to unevenness or potential lifting.
Finishing Touches
Step 9: Buff and Shine
After all the nails are applied, use a small buffer to smooth out any rough edges. This step also helps the press-ons blend more seamlessly with your natural nails. If desired, apply a top coat for extra shine and durability.
Step 10: Maintain Your Press-On Nails
To keep your press-ons looking fresh, avoid exposing them to harsh chemicals or soaking them in water for extended periods. Regularly check for any lifting and reapply adhesive if necessary.
Removal of Press-On Nails
Step 11: How to Remove Press-On Nails Safely
When it’s time to remove your press-on nails, do so gently to avoid damaging your natural nails. Soak your fingers in warm, soapy water for a few minutes, then gently wiggle the press-ons until they come off. If they’re stubborn, consider using a bit of nail polish remover around the edges.
Step 12: Care for Your Natural Nails
After removing your press-ons, moisturize your nails and cuticles with a good quality oil. This helps to restore any moisture lost during the application process and keeps your nails healthy.
Troubleshooting Common Issues
Problem: Lifting or Detaching
If your press-on nails start to lift or detach, it may be due to moisture or oil on your natural nails. Ensure your nails are completely clean and dry before applying the press-ons. Consider using a stronger adhesive if necessary.
Problem: Nail Sizes Don’t Fit
If you find that none of the press-on nails fit perfectly, you can always file them down or consider investing in a custom set. Some brands offer customizable options where you can choose sizes for each nail.
Conclusion
In conclusion, applying press-on nails is an easy and effective way to achieve beautiful nails without the hassle of salon visits. By following the steps outlined in this guide, you can enjoy a flawless manicure at home. Remember, the key to success lies in proper preparation, careful application, and maintenance. Now that you know the best way to apply press-on nails, it’s time to explore the endless possibilities that come with this fabulous nail trend. Embrace your creativity, and enjoy your stunning new look!
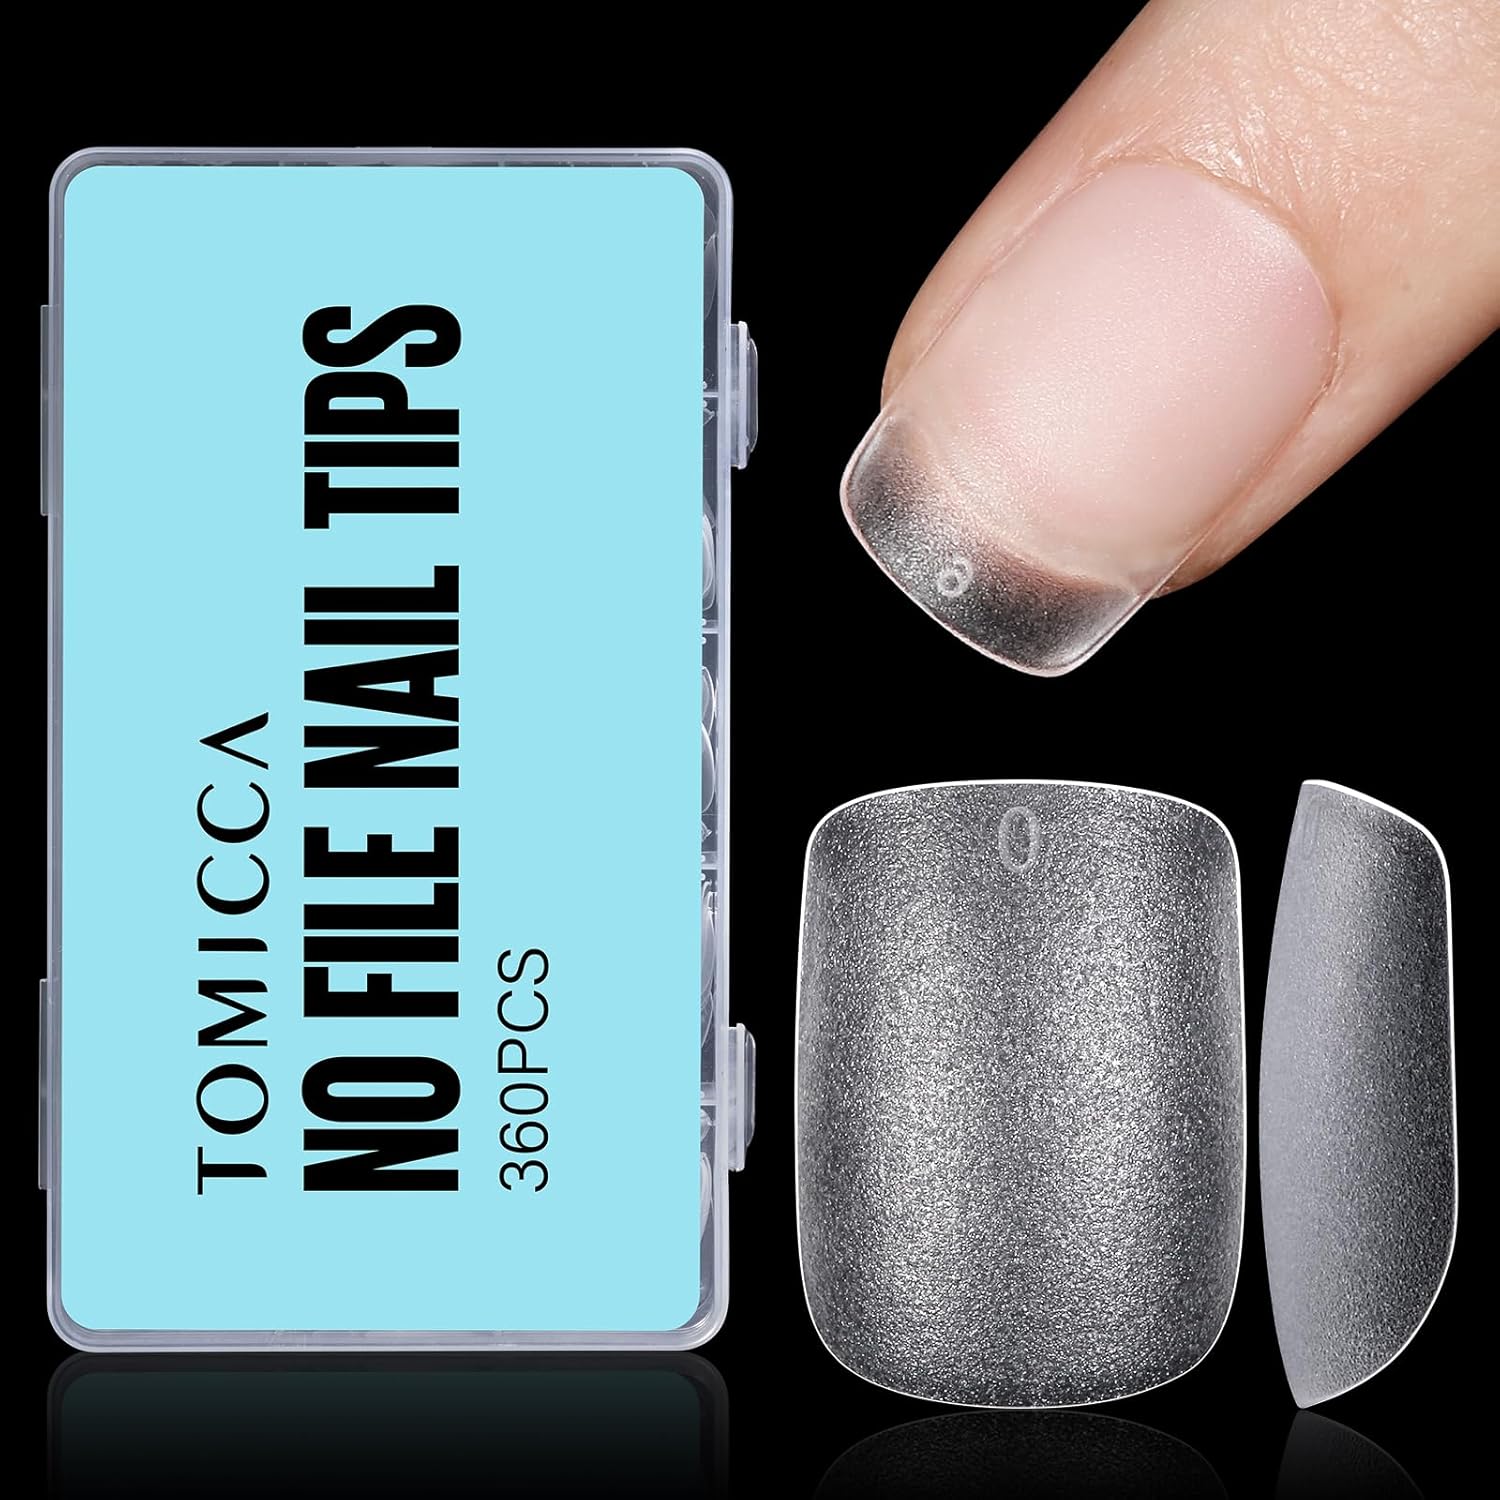
DOUBLE-SIDED MATTE, NO NEED BUFFING: The technical update of TOMICCA double-sided matte design, so that you don’t need to polish nails, reduce the damage to natural nail, increase the friction between the Fake Nails tips and the natural nail, and be healthier and sturdy.
15 SIZES, 360PCS: Extra short nail tip has 15 sizes of nail tips totaling 360 pieces. In addition to the common 12 sizes, we have added 3 additional sizes so you can find the best size nail tips. The gel nail tips are marked with numbers at the top to help you find the suitable tips more easily.
TOUGH MATERIAL, RESISTANT TO BREAKAGE: TOMICCA nail tips are made of traceless acrylic material, which is not easy to break and peel off, thin and tough, nontoxic and tasteless, no harm to nails. The pre-shaped nail design also greatly saves the time of polishing the nail’s shape, making the nail art process easier and comfortable. Long Last 21 days with proper application.
EXTRA SHORT GEL NAIL TIPS: This extra short nail tips is very suitable for those who have short nail beds or broken nail beds. The extra short design will not interfere with daily life and work and is more like natural nail.
NO NEED BASE COAT: The full matte surface of the nail tips allows the color to be firmly covered without base coat. It saves you from tedious steps and gives you a pleasant nail art experience.