


Price: $4.77
(as of Apr 11, 2025 08:31:31 UTC - Details)
The Best Way to Apply Press-On Nails: A Comprehensive Guide
Introduction
In a world where beauty trends come and go, press-on nails have emerged as a popular choice for many looking to achieve a salon-quality manicure at home. Easy to apply and available in various styles, colors, and designs, press-on nails offer a perfect solution for those who want beautiful nails without the hassle of traditional nail enhancements. In this article, we will explore the best way to apply press-on nails, providing you with practical tips and tricks to make your application process smooth and enjoyable. Whether you're a beginner or someone looking to refine your technique, this guide will help you achieve the perfect look effortlessly.
Section 1: Choosing the Right Press-On Nails
Understanding Different Types of Press-On Nails
One of the first steps in applying press-on nails is selecting the right type for your needs. There are various styles available, from full-cover nails to nail tips. Full-cover nails are ideal for those who want a complete transformation, while nail tips can be a great option for adding length to your natural nails.
When choosing your press-on nails, consider the length, shape, and design. Popular shapes include oval, square, and stiletto, each offering a unique look. Additionally, think about whether you want a solid color, glitter, or intricate designs. The right choice can elevate your overall appearance!
Sizing Your Nails
Once you have selected your press-on nails, it’s crucial to find the right size for each finger. Most press-on nail kits come with a sizing guide, which can be a lifesaver. Make sure to measure your nails accurately and choose the closest fit. If you find that some nails are too big, don’t worry! You can always file them down for a more comfortable fit.
Section 2: Preparing Your Natural Nails
Cleaning and Buffing
Before applying your press-on nails, it’s essential to prepare your natural nails properly. Start by removing any old nail polish and washing your hands thoroughly. Next, gently push back your cuticles and buff the surface of your natural nails. This step helps the adhesive bond better, ensuring your press-on nails stay put longer.
Moisturizing Your Cuticles
After buffing, remember to moisturize your cuticles. Applying a bit of cuticle oil will keep your nails and skin hydrated. It’s a small step that goes a long way in maintaining the overall health of your nails, even beneath the press-ons.
Section 3: Applying the Press-On Nails
Using the Right Adhesive
Most press-on nails come with adhesive tabs, but using nail glue can provide a stronger hold. If you’re looking for a long-lasting option, opt for nail glue. Apply a small amount to the back of the press-on nail and the tip of your natural nail.
The Application Process
To apply the press-on nails, start from the pinky finger and work your way to the thumb. Align the press-on nail with your natural nail, pressing down firmly for a few seconds. This ensures a secure fit. Repeat this process for each nail, taking care to ensure they’re all aligned and evenly spaced.
Section 4: Finishing Touches
Shaping and Filing
Once all your press-on nails are applied, you may want to shape them to your preference. Use a nail file to gently smooth out any rough edges and to create the desired shape. This step is crucial for achieving a professional look at home.
Adding Nail Art
If you want to take your press-on nails to the next level, consider adding some nail art. You can use nail stickers, gems, or even nail polish to create unique designs. This is a fun way to express your personality and make your nails truly one-of-a-kind.
Section 5: Maintaining Your Press-On Nails
Daily Care Tips
To keep your press-on nails looking fresh, avoid exposing them to harsh chemicals and excessive water. When washing dishes or cleaning, consider wearing gloves to protect your nails. Regularly moisturize your cuticles to prevent dryness and maintain the health of your nails.
When to Remove
Press-on nails can last anywhere from a few days to a couple of weeks, depending on how well you care for them. When you notice lifting or if you just want a change, it’s time to remove them. Soak your nails in warm, soapy water for about 10-15 minutes to loosen the adhesive, and gently peel them off.
Conclusion
Applying press-on nails can be a fun and rewarding experience. With the right preparation, application techniques, and maintenance, you can achieve stunning nails that look professionally done. Remember to choose the right type of press-on nails, prepare your natural nails properly, and take your time during the application process. By following these steps, you’ll not only master the best way to apply press-on nails, but you’ll also enjoy the confidence that comes with having beautiful nails. Embrace the ease and style of press-on nails today!
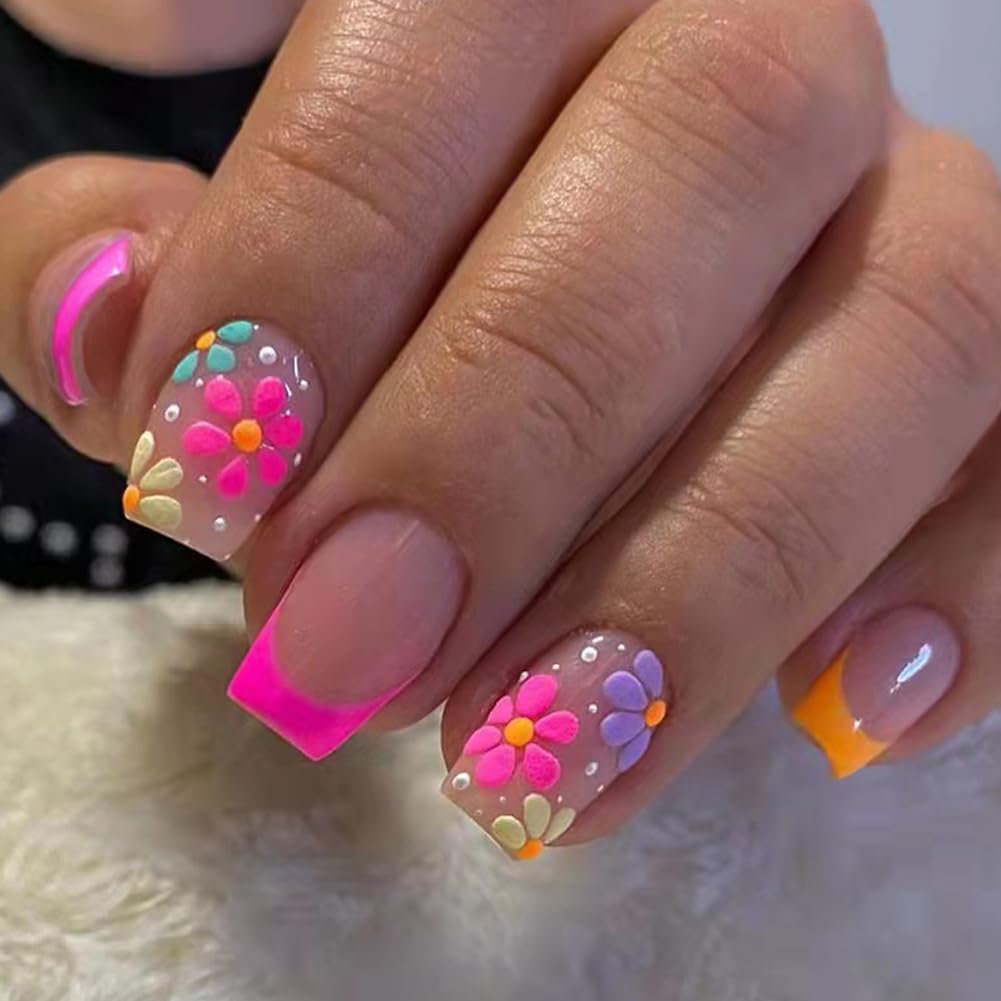
💖【 Press on Nails Coffin】made of good acrylic Eco-Friendly ABS material, firm and not fragile or break or fade, more glossy, wouldn't hurt your nails,Softness is similar to human nails.
💖【Glue on Nails Medium Length Pack】24 pcs/12 Sizes square press on nails, 1 nail file,1 stick of glue, 24 pcs jelly glue. 1 Cleaning Cloths,1 wooden stick.(Durability of jelly glue is not as good as liquid glue, but it makes fake nails Reusable,Please use suitable glue according to different scenes)
💖【nails press on】press ons easy to wear and unloading Instead of spend lots time and money at nail salon, you can change you nails style in 15 minutes anytime and anywhere (The fake nails will stay longer if you clean your nails before use, and avoid water within the first hour of wearing)
💖【Perfect Gift】the false nails with designs for nail art can be used in various nail, they can satisfy your needs in wedding wearing, proms, birthdays, party and daily life. They are the wonderful gift for friends, families, girl friends on a lot of festive occasions, like Mother's Day, Valentine's Day, Halloween, Christmas, etc.
💖【After-Sales Service】Leuhiove acrylic press on nails commitment please feel free to contact with us if you had any question, refund with 24 hours had any quality problem. Color might be little different due to different,please take the actual shooting as the main product.