


Price: $5.99
(as of Apr 11, 2025 17:32:52 UTC - Details)
The Best Way to Apply Press-On Nails: A Comprehensive Guide
Introduction
Are you tired of spending hours at the salon for a manicure that doesn't last? Press-on nails might just be the perfect solution for you! In this guide, we'll explore the best way to apply press-on nails, ensuring you achieve a salon-quality look right at home. Whether you're a newbie or someone looking to refine your technique, we've got you covered. We'll delve into useful tips, the right tools, and common mistakes to avoid, helping you get the most out of your press-on nails experience.
Understanding Press-On Nails
What are Press-On Nails?
Press-on nails are pre-designed artificial nails that you can easily apply at home. They come in various shapes, sizes, and styles, making them an excellent choice for anyone looking to switch up their look without the commitment of traditional nail enhancements.
Why Choose Press-On Nails?
One of the best advantages of press-on nails is their convenience. They are affordable, quick to apply, and can be removed without damaging your natural nails. Whether you’re preparing for a special occasion or just want to elevate your everyday style, press-on nails are a versatile option.
The Best Way to Apply Press-On Nails
1. Preparing Your Natural Nails
Before you even think about applying those stylish press-on nails, you need to prep your natural nails. This step is crucial for ensuring that the press-on nails adhere properly and look their best.
Clean and Trim
Start by removing any old nail polish and cleaning your nails thoroughly. Use a gentle nail file to shape your nails and trim any excess cuticles. This not only makes for a better application but also helps prevent any lifting later on.
Buff the Surface
Gently buff the surface of your natural nails. This creates a rougher texture that allows the adhesive on the press-on nails to grip better. Be careful not to over-buff, as this can weaken your natural nails.
2. Choosing the Right Press-On Nails
Selecting the right set of press-on nails can make all the difference in your application process.
Size Matters
When buying press-on nails, make sure to choose the right size for each finger. Most sets come with multiple sizes, so you can find the perfect fit. If you're unsure, measure your nails with a ruler or use a sizing chart.
Style Selection
There are countless styles available, from classic French tips to bold designs. Choose a style that suits your personality and the occasion. Remember, the right design can enhance your overall look!
3. Applying the Press-On Nails
Now comes the exciting part—applying the press-on nails! Follow these steps to ensure a smooth application.
Use Nail Glue or Adhesive Tabs
You can use nail glue or adhesive tabs to apply your press-on nails. Nail glue provides a stronger hold, while adhesive tabs are easier to remove. If you're unsure which to choose, consider your needs—temporary wear or long-lasting hold.
Apply the Nails
Start with your pinky finger and work your way to your thumb. Apply a small amount of glue to your natural nail, then press the press-on nail onto it. Hold for about 10-15 seconds to ensure it adheres well. Repeat for each finger.
4. Finishing Touches
Once all your press-on nails are applied, it’s time to add those finishing touches!
File and Shape
After applying the nails, you may want to file them down to your desired length or shape. This can help blend the press-on nails with your natural nails, making them look even more seamless.
Add a Top Coat
To enhance the shine and durability of your press-on nails, consider applying a clear top coat. This will not only give you a glossy finish but also help protect from chipping.
5. Caring for Your Press-On Nails
To keep your press-on nails looking fabulous, you need to take care of them.
Avoid Water and Chemicals
Try to keep your hands away from water and harsh chemicals for the first few hours after application. This helps ensure that the adhesive sets properly.
Be Gentle
While press-on nails are more durable than you might think, it's still essential to be gentle with them. Avoid using your nails as tools and refrain from excessive pressure.
6. Removing Press-On Nails
When it's time to remove your press-on nails, do so carefully to avoid damaging your natural nails.
Soak in Warm Water
One of the easiest ways to remove press-on nails is to soak them in warm, soapy water for about 10-15 minutes. This will help loosen the adhesive.
Gently Peel Off
Once the nails are softened, gently peel them off starting from the sides. If they resist, soak them a bit longer. Avoid yanking them off, as this could harm your natural nails.
Conclusion
Applying press-on nails can be a fun and rewarding experience when done correctly. By following the steps outlined in this guide, you can achieve stunning results without stepping foot in a salon. Remember, the best way to apply press-on nails involves proper preparation, careful application, and thoughtful aftercare. So why wait? Grab your favorite set of press-on nails and get started today! Enjoy the flexibility and style that comes with this fantastic nail option!
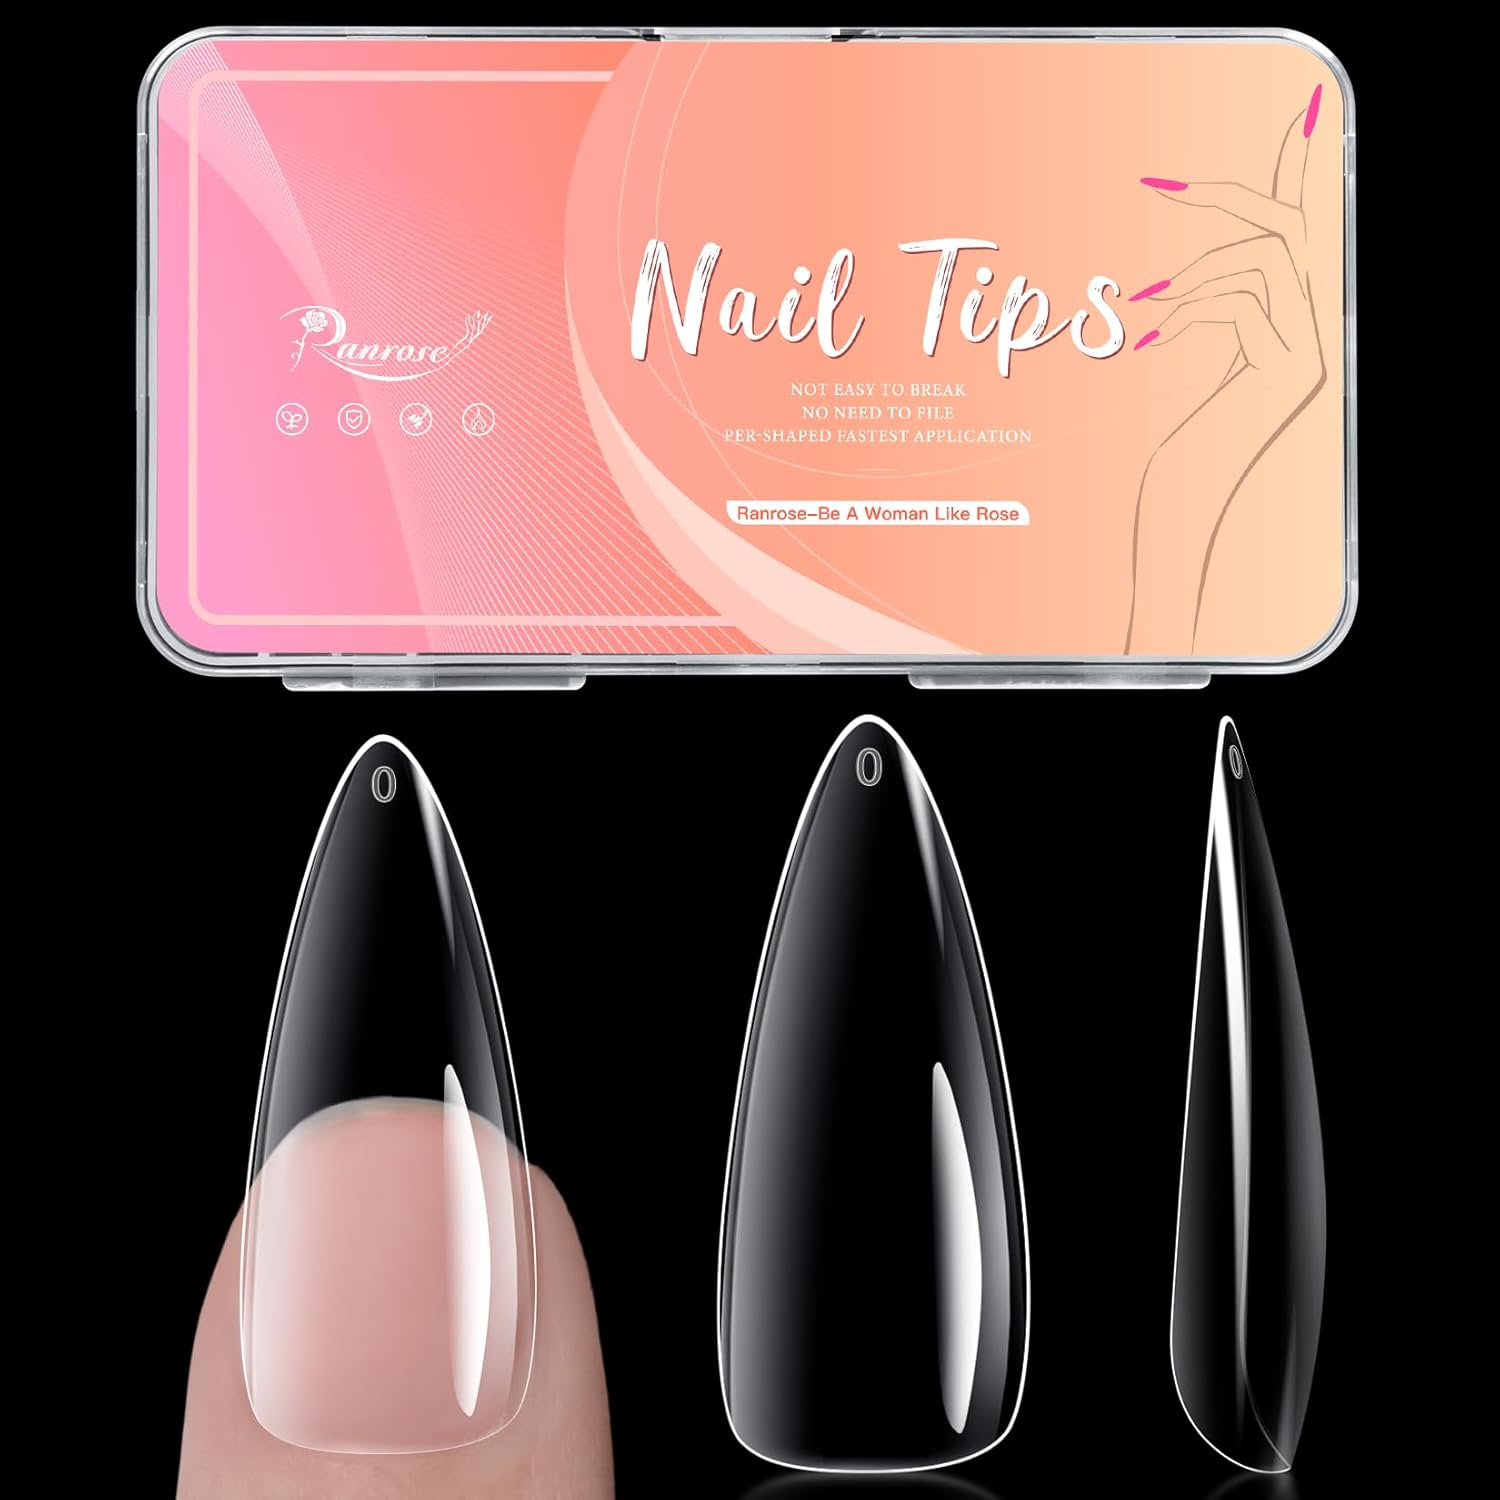
Long Almond Shape Design-Ranrose soft gel nail tips are specially designed for women's nail extensions,which are kind of between oval nails and stiletto nails. Ranrose long almond nail tips will lengthen your nails ,to create a nail salon effect conveniently and quickly. Long almond nails tips makes your nails fashion,creative and fresh.
New Material:Ranrose long almond nails tips are using newest soak off soft gel material. Even if it bends, soft gel nails tips leaves no trace, more malleable and more natural than others false nails. Nail tips not easy to bend and fall off, no damage to nails.
12 Sizes False Nails: Ranrose full cover nail tips contain 12 sizes in a box,20 pieces in each size clear nails tips,240 pieces in total .By the size number on the almond nail tip,you can choose the size fake nails that best suits each of your fingers. Each size acrylic nails is packaged separately for ease of use. Perfect to be used on wedding, prom, dating.
Simple Operation:We just need to pick the clear nail tips to suit the length and size of each nail. After matching a suitable false nails,apply glue to the edge of the fake nail,press it on your nail for 10 seconds,and then shine a nail lamp on it for 1 minute. The full cover fake nails are easy to use,much more beginner-friendly than regular acrylic nails.
Multi Use Nail Tip :These long almond nail tips are great for professional nail technician on nail salon or nail tip art lover at home DIY. The shape of this full cover nails is sharper than the traditional false nail, you must not miss Ranrose clear nails tips if you like elegant and imposing manicures tips!