


Price: $13.99
(as of Apr 10, 2025 17:04:18 UTC - Details)
The Best Way to Apply Press-On Nails: A Comprehensive Guide
Introduction
Are you tired of spending hours at the nail salon, only to leave feeling unsatisfied with the results? If so, press-on nails might be the perfect solution for you. In this guide, we’ll explore the best way to apply press-on nails, ensuring you achieve a salon-quality look from the comfort of your home. We'll dive into various techniques, tips, and tricks, helping you to not only apply these nails but also keep them looking fabulous for longer. Whether you’re a beginner or a seasoned pro, this article will equip you with everything you need to know about press-on nails.
Understanding Press-On Nails
What Are Press-On Nails?
Press-on nails are pre-designed artificial nails that can be easily applied over your natural nails. They come in various shapes, sizes, and designs, making them a versatile option for anyone looking to enhance their nail game. Unlike traditional acrylic or gel nails, press-ons are quick and simple to apply, making them a popular choice for those who want a temporary yet stylish look.
Benefits of Using Press-On Nails
Using press-on nails offers numerous benefits. For starters, they are incredibly convenient. You can apply them at home without the need for expensive salon visits. They also come in a wide range of styles, allowing you to switch up your look easily. Additionally, press-on nails are less damaging to your natural nails compared to other methods, making them a healthy choice for nail enthusiasts.
The Best Way to Apply Press-On Nails
1. Choosing the Right Press-On Nails
When it comes to press-on nails, the first step is selecting the right ones for your needs. Look for nails that match your natural nail shape and size. Many brands offer sizing guides, which can help you pick the perfect fit. Additionally, consider the design and length you want. Whether you prefer a classic French tip or a bold glitter finish, there’s a wide variety available to suit your style.
2. Preparing Your Natural Nails
Before applying press-on nails, it’s crucial to prepare your natural nails properly. Start by removing any old nail polish and gently buffing the surface of your nails to create a smooth foundation. Next, wash your hands thoroughly to remove any oils or dirt. You can also use a nail dehydrator or rubbing alcohol to further ensure your nails are clean and ready for application.
3. Applying the Press-On Nails
Now that your natural nails are prepped, it’s time to apply the press-on nails. Begin by selecting the appropriate size for each finger. Apply a thin layer of nail glue to the back of the press-on nail and your natural nail. Press the nail down firmly for about 10-15 seconds to ensure a strong bond. Repeat this process for each finger, taking your time to avoid any air bubbles.
4. Securing the Nails
After applying the press-on nails, it’s essential to secure them properly. You can use a nail file to gently shape the edges and ensure a seamless look. If you notice any gaps between the press-on nail and your natural nail, apply a small amount of glue to fill them in. This step helps prevent lifting and enhances the longevity of your press-on nails.
5. Caring for Your Press-On Nails
To keep your press-on nails looking fresh, proper care is key. Avoid exposing them to excessive water or harsh chemicals, as this can weaken the adhesive. When washing dishes or cleaning, consider wearing gloves. Additionally, moisturize your hands and cuticles regularly to maintain healthy nails beneath the press-ons.
6. Removing Press-On Nails Safely
When it’s time to remove your press-on nails, do so carefully to avoid damaging your natural nails. Soak your fingers in warm, soapy water for about 10 minutes to loosen the adhesive. Gently wiggle the press-on nails to detach them from your natural nails. If they are still sticking, apply a bit of acetone or nail polish remover to help dissolve the glue. Always be gentle to prevent any harm to your natural nails.
Conclusion
In conclusion, applying press-on nails can be a fun and easy way to achieve beautiful nails without the hassle of a salon visit. By following the steps outlined in this guide, you can master the best way to apply press-on nails and enjoy all the benefits they offer. Remember to choose the right nails, prepare your natural nails properly, and take care of them for the best results. With a little practice, you’ll be able to flaunt stunning nails that are sure to turn heads. So, why wait? Get started on your press-on nail journey today!
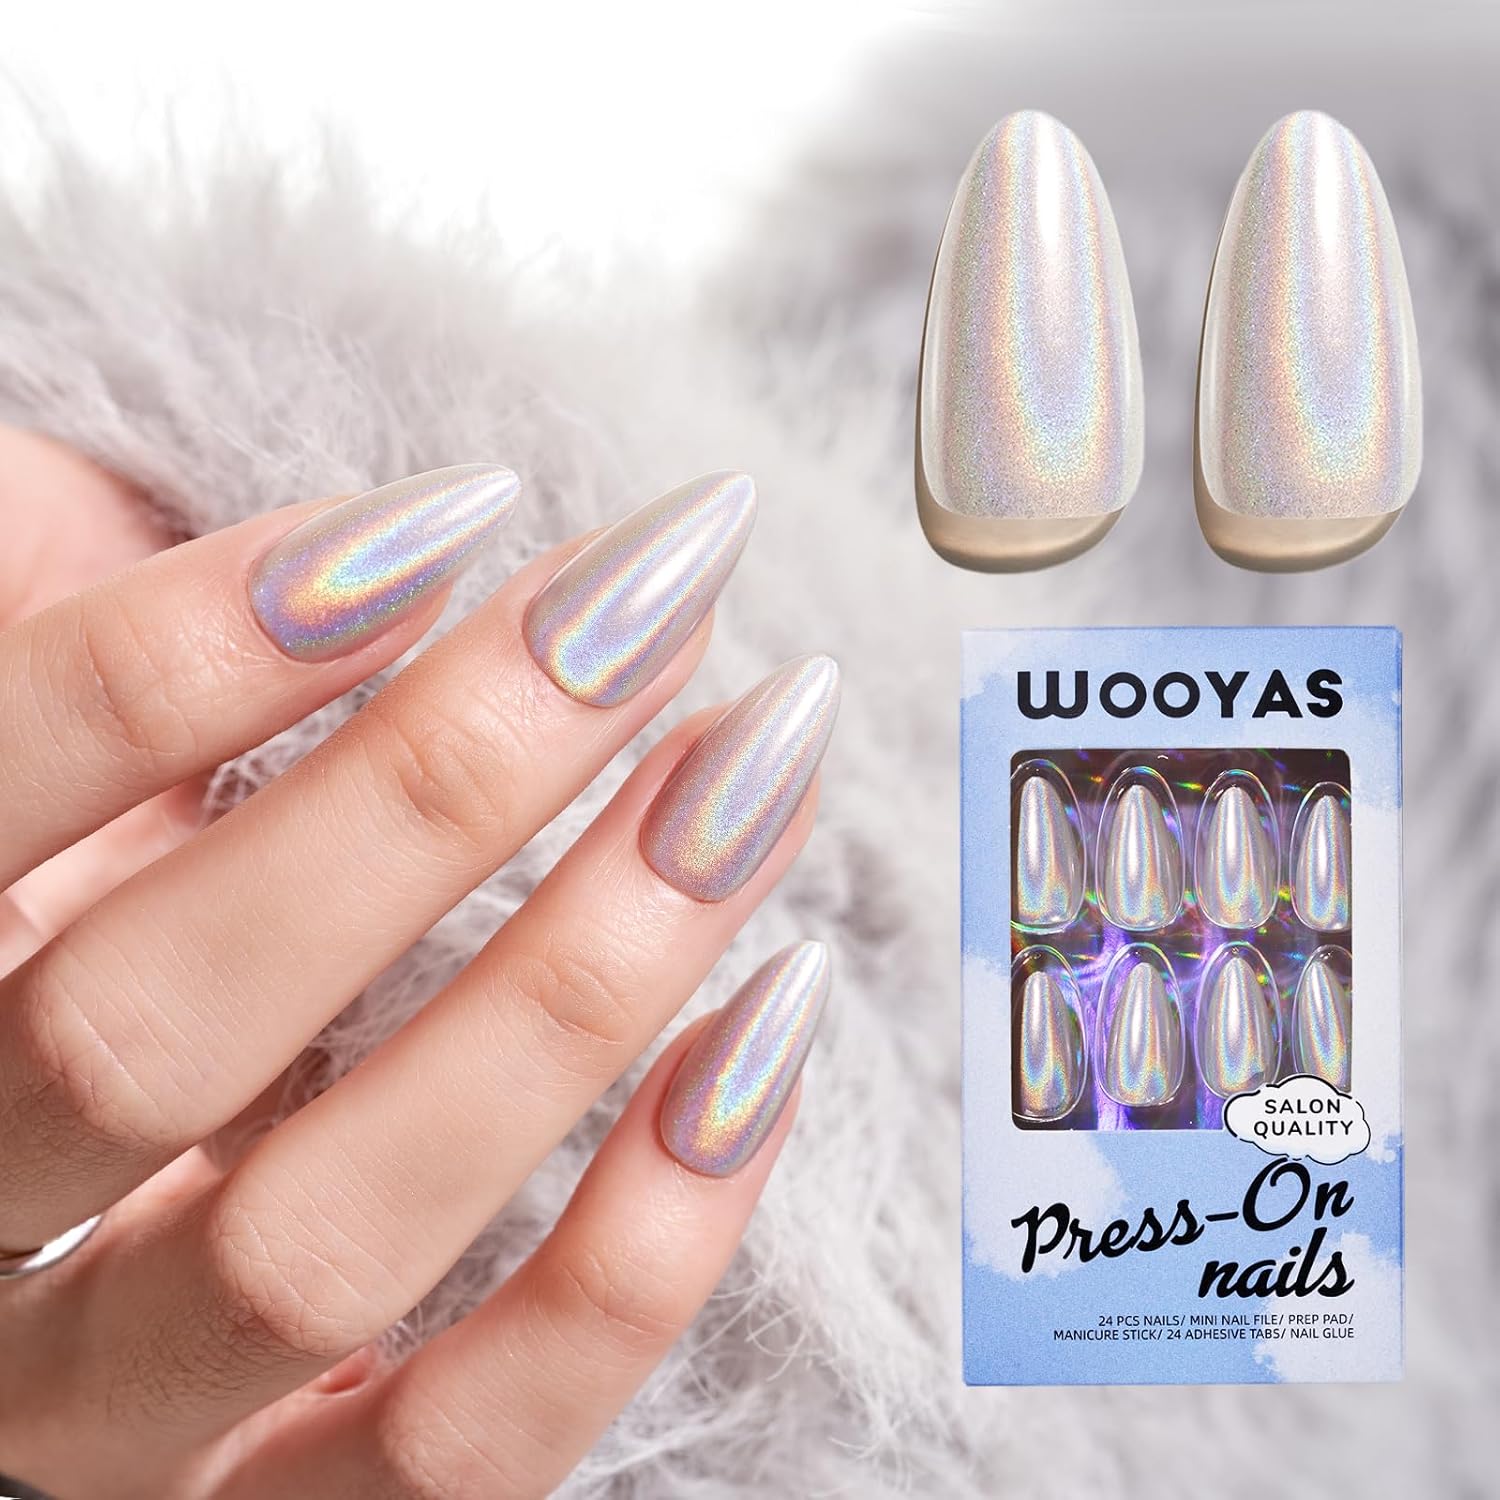
Made by Gel: Wooyas handmade press on nails stand out with their authentic gel finish, handmade by skilled manicurists. Enjoy a elegant, salon-quality look, thinner cuticles, and a seamless, natural fit.
Safe and comfortable: Wooyas medium almond fake nails in sliver color are crafted from top-grade, non-toxic, and odorless ABS material. These soft, elastic nails exert no pressure on your natural nail bed, ensuring a comfortable and safe experience.
Timeless Metal Design: Precision-crafted mirror gel nails, handmade for comfort. The base coat offers a canvas for versatile styles. Experiment effortlessly with fashionable looks, adapting to your mood and outfit. Elevate your manicure with the timeless charm of our handmade series.
Flexible application: Say goodbye to the salon in just 5 minutes! For long-lasting results, use the glue for over 14 days. Use jelly glue if you want to change the design every week, it's perfect for date nights or small events.it's up to you! It's also the perfect holiday gift choice.
What You Get: Your nail kit includes 24 pieces of fake nails in 12 different sizes, along with 24 adhesive preparation pads, one glue, a manicure stick, a manicure file, and a prep pad – everything you need for a flawless manicure application.